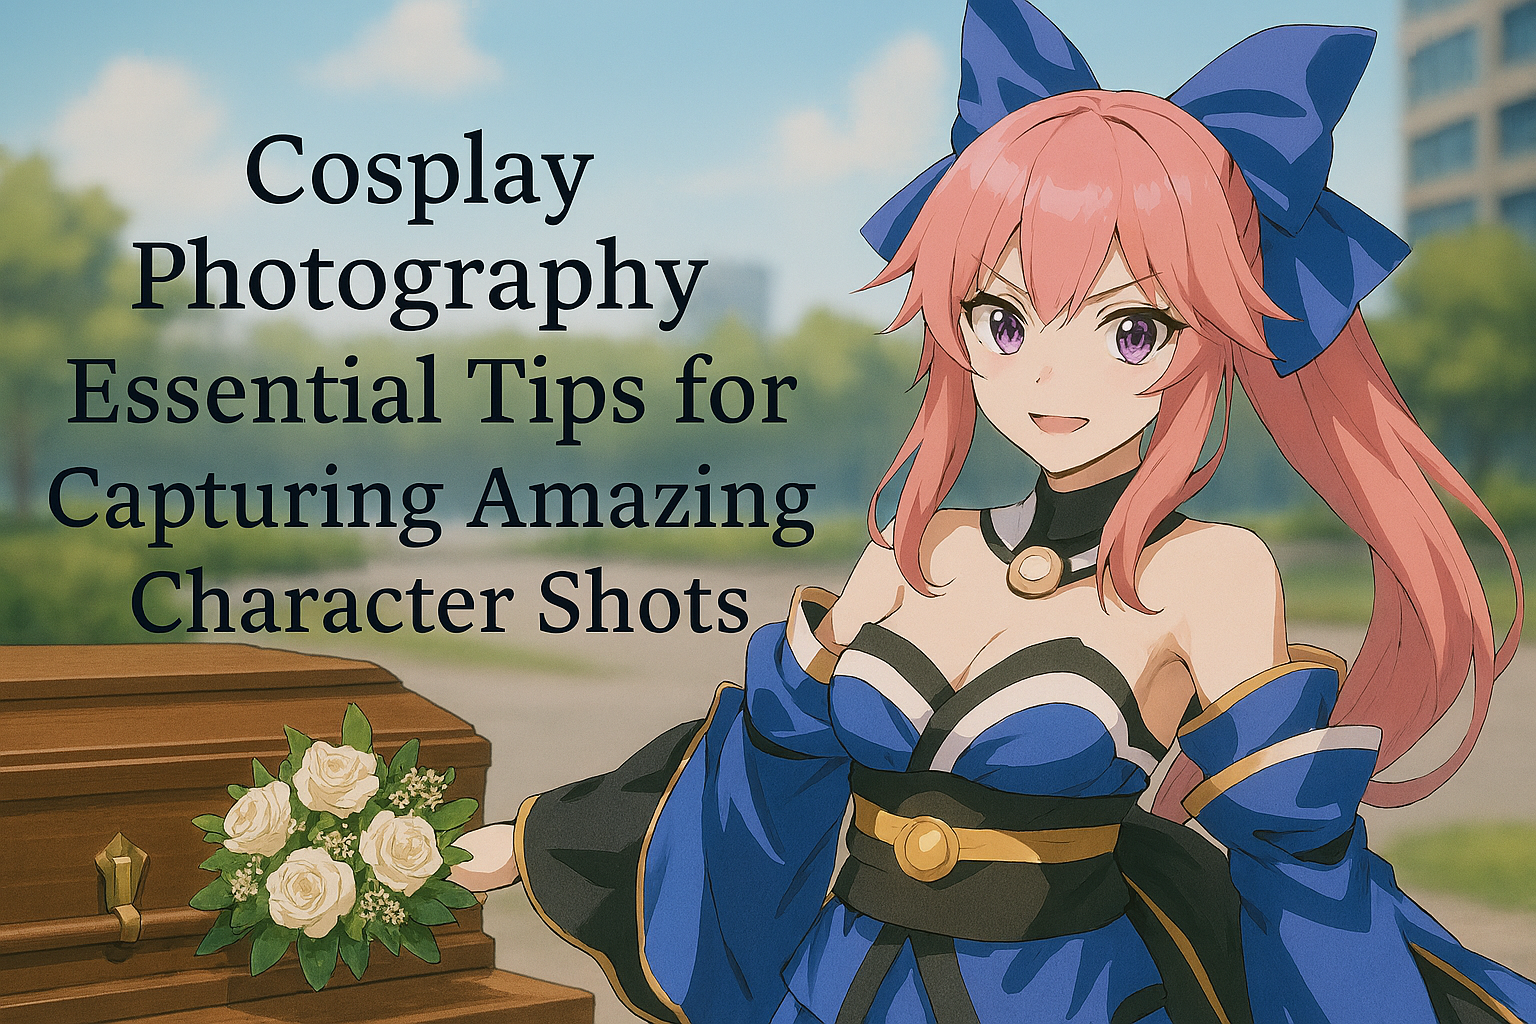
Cosplay photography is a unique and exciting genre that combines elements of portrait photography, creative storytelling, fashion photography, and fandom celebration. Unlike traditional portrait work, cosplay photography isn’t just about capturing a person—it’s about bringing a beloved character to life through the collaboration between cosplayer and photographer. Whether you’re a photographer looking to expand into this vibrant niche or a cosplayer wanting to understand what makes great cosplay photos, mastering the fundamentals is essential. The cosplay community values authenticity, creativity, and respect for source material, which means photographers need more than just technical skills—they need an understanding of characters, fandoms, and the incredible craft that goes into costume creation. Amazing cosplay photography captures not just how a costume looks, but how a character feels, honoring both the cosplayer’s hard work and the essence of the character they’re portraying. In this comprehensive guide, we’ll explore the essential elements of cosplay photography, from preparation and technical settings to posing, composition, and post-processing techniques that will elevate your cosplay images from simple documentation to stunning character portraits that resonate with fans and cosplayers alike.
Understanding Characters and Doing Your Homework
The foundation of excellent cosplay photography begins long before you ever press the shutter button—it starts with understanding the character being portrayed. Unlike general portrait photography where you’re capturing the subject’s own personality, cosplay photography requires you to capture someone embodying a fictional character, and knowing that character’s essence is crucial. When a cosplayer reaches out to work with you or when you approach someone at a convention, take time to research the character if you’re unfamiliar with them. Watch the anime, play the game, read the manga or comic, or at minimum, look up the character online to understand their personality, typical poses, iconic moments, and visual aesthetic. Is this a heroic character who stands tall and confident, or a villain who lurks in shadows with menacing expressions? Is the character playful and energetic, or serious and stoic? Understanding these traits informs every decision you make—from posing direction to lighting choices to composition style. Ask the cosplayer about their interpretation of the character and what specific scenes, poses, or moods they want to capture. Many cosplayers have specific reference images in mind from the source material, and being open to their vision while contributing your photographic expertise creates the best collaboration. Pay attention to the character’s color palette, as this should influence your background choices and post-processing color grading. A dark, brooding character like Batman or a gothic character benefits from different treatment than a bright, cheerful magical girl. Notice signature poses, weapons, or gestures associated with the character—these iconic elements should be incorporated into your shots. The more you understand about the character, the better equipped you are to capture images that feel authentic to fans of that series or game. This research shows respect for both the cosplayer’s hard work and the fandom, and cosplayers will absolutely notice and appreciate when a photographer “gets” their character. Your knowledge doesn’t need to be encyclopedic, but demonstrating genuine interest and asking thoughtful questions about the character creates a foundation for successful collaboration and images that truly capture the character’s spirit.
Technical Settings and Equipment for Cosplay Photography
Cosplay photography presents unique technical challenges that require thoughtful equipment choices and camera settings. For lens selection, versatile zoom lenses like 24-70mm or prime lenses in the 35mm to 85mm range work beautifully for most cosplay work, providing flexibility for both full-body costume shots and close-up character portraits. If you’re shooting elaborate armor or props with intricate details, having a macro lens or close-focusing capability helps capture the craftsmanship. For convention shooting where space is limited, a 50mm prime lens is compact, fast, and produces excellent results in challenging lighting. Speaking of lighting, conventions typically have terrible fluorescent or mixed lighting that creates unflattering color casts and harsh shadows. Bringing a portable speedlight or small LED panel gives you control over your lighting and allows you to create dimensional, professional-looking images even in difficult environments. A small reflector is also invaluable for bouncing light and filling shadows, especially for outdoor shoots. Camera settings require attention to several factors: use aperture priority or manual mode for creative control, with apertures around f/4 to f/8 for full-body shots ensuring the entire costume stays sharp, or wider apertures like f/2.8 or f/1.8 for dramatic portraits with background separation. Shutter speed should be fast enough to freeze movement, especially if capturing action poses—generally 1/200s or faster, and even higher if the cosplayer is jumping or creating dramatic motion with capes, weapons, or flowing costume elements. ISO will depend on your lighting situation: keep it as low as possible (100-400) for outdoor shoots in good light, but don’t hesitate to increase it to 800, 1600, or higher in dim convention halls—modern cameras handle noise well, and a slightly grainy sharp image is far better than a blurry one. Shoot in RAW format rather than JPEG, as this gives you maximum flexibility in post-processing to adjust colors, recover details, and create the specific aesthetic the character demands. White balance is particularly important for accurately reproducing costume colors—if shooting indoors with mixed lighting, use a custom white balance or shoot RAW and adjust in post-processing. For outdoor shoots, pay attention to how different lighting conditions affect metallic costumes, props, or armor, which can create harsh reflections or hotspots. A circular polarizing filter can help manage these reflections and enhance colors in outdoor settings.
Posing, Composition, and Capturing Character Essence
The way you pose and compose your cosplay shots determines whether you’re simply documenting a costume or truly capturing a character, and this is where your creativity and directorial skills come into play. Start by discussing with the cosplayer what poses feel natural for their character—many experienced cosplayers have practiced signature poses and know what works for their costume, so collaborate rather than dictate. For action-oriented characters like superheroes, warriors, or fighters, dynamic poses with movement, power stances, and dramatic angles convey their strength and energy. Use lower camera angles shooting upward to make characters appear more powerful and heroic, or higher angles shooting down for vulnerable or defeated character moments. For elegant or magical characters, flowing poses with graceful hand positions, extended lines, and softer compositions work better. Consider the character’s weapon or signature prop—these should be prominently featured and positioned in ways that match how they appear in the source material. Pay attention to hands, which can make or break a cosplay photo: avoid awkward, stiff hand positions and instead direct natural, character-appropriate gestures. Expression is equally crucial—a stoic warrior shouldn’t be smiling cheerfully, and a bubbly character shouldn’t look serious and brooding. Encourage cosplayers to embody their character’s emotions and personality, and be prepared to take multiple shots to capture the right expression. For composition, use the rule of thirds to create balanced, professional-looking images, but don’t be afraid to break rules when appropriate for dramatic effect—centered compositions work beautifully for powerful, symmetrical characters. Include negative space that allows the character to “breathe” in the frame, and consider the direction the character is facing or moving, leaving space in that direction for visual flow. Background selection significantly impacts your images: choose locations that complement the character’s world—urban settings for modern or cyberpunk characters, natural forests for fantasy or elven characters, industrial areas for post-apocalyptic or steampunk cosplays. At conventions with limited background options, use wide apertures to blur distracting backgrounds, or position cosplayers against neutral walls, curtains, or less crowded areas. Shoot from multiple angles—straight-on for traditional character shots, low angles for dramatic power, high angles for vulnerability, and side angles to showcase costume details like capes, wings, or armor construction. Capture variety: full-body shots that show the entire costume, medium shots focusing on upper body and expression, and close-ups highlighting specific details like intricate props, jewelry, makeup, or costume construction.
Lighting Techniques for Different Costume Materials and Effects
Understanding how light interacts with various costume materials is essential for cosplay photography, as costumes incorporate everything from flowing fabrics to rigid armor, from matte surfaces to highly reflective metallics. Soft, diffused lighting generally works well for fabric costumes, creating gentle shadows and even illumination that showcases texture without harsh contrasts—this is why overcast days or shaded areas work beautifully for many cosplay shoots. For outdoor shooting, golden hour provides warm, directional light that adds dimension and drama, perfect for fantasy characters, warriors, or romantic character moments. However, metallic armor, props, or costume elements require different consideration, as they reflect light intensely and can create distracting hotspots or blown-out highlights. For armor and metallic costumes, slightly diffused light from an angle (rather than straight-on) creates dimension and reveals the three-dimensional quality of the armor without excessive reflection. If using flash or artificial lighting, position it at 45-degree angles rather than straight-on to create modeling and depth. Reflectors are your friend for filling shadows on faces while the costume catches natural light, especially important when elaborate helmets or props create shadows across the cosplayer’s face. For dramatic character shots—villains, dark heroes, or moody scenes—consider using dramatic side lighting or backlighting that creates rim light effects, separating the character from the background and adding atmosphere. Colored gels on speedlights or LED panels can create character-specific effects: blue for ice powers or water characters, red for fire or demonic characters, green for toxic or magical effects. When shooting indoors at conventions, position your speedlight off-camera (using a bracket or having an assistant hold it) rather than using direct on-camera flash, which creates flat, unflattering lighting. Bounce flash off ceilings or walls when possible to create softer, more natural-looking light. For cosplayers with elaborate wigs (very common in cosplay), be mindful that synthetic wig fibers can reflect light differently than natural hair, sometimes creating sheen or hotspots that need managing. Test shots are essential—take a few frames, check your results, adjust lighting position or power, and then proceed with the full shoot. Different costume materials in the same outfit may require exposure compensation or lighting adjustment, so review your images regularly to ensure both the costume and the cosplayer’s face are properly exposed and lit.
Post-Processing: Bringing Characters to Life in Editing
Post-processing is where good cosplay photos become great ones, transforming raw captures into polished character portraits that honor the cosplayer’s work and the character’s aesthetic. Begin with basic adjustments in Lightroom or your preferred RAW processor: correct exposure if needed, adjust white balance to ensure costume colors are accurate (consult with the cosplayer if you’re unsure about character-accurate colors), and fine-tune contrast to add dimension without crushing shadows or blowing highlights. Color grading is particularly important in cosplay photography and should reflect the character’s world and aesthetic—warm, golden tones for heroic fantasy characters, cool desaturated looks for post-apocalyptic or cyberpunk characters, vibrant saturated colors for anime or comic book characters, and dark moody tones for villains or gothic characters. Pay special attention to skin retouching, maintaining natural skin texture while addressing temporary blemishes, convention floor dirt, or makeup imperfections. Many cosplayers wear elaborate makeup as part of their character, so preserve this artistry rather than smoothing it away. Use frequency separation or other advanced retouching techniques to even out skin tone while maintaining pore texture. Costume cleanup is often necessary: remove stray threads, visible safety pins, tape, construction seams that shouldn’t be visible, scuffs on props or armor, or background elements that detract from the image. The clone stamp and healing brush tools become essential here. For props and weapons, enhancement can add impact—dodging (lightening) edges to make them pop, adding subtle glow effects to magical items or energy weapons, or increasing local contrast to emphasize details and craftsmanship. Background adjustments help your subject stand out: darken or desaturate backgrounds slightly to draw attention to the colorful costume, or use selective sharpening to ensure the cosplayer is the sharpest element in the frame while backgrounds remain softer. For more advanced editing, consider compositing—replacing distracting convention backgrounds with more appropriate environments, adding dramatic skies, or placing characters in settings that match their world. Some cosplay photography involves adding special effects: magical auras, energy blasts, glowing eyes, or environmental elements like rain, snow, or particles. These should enhance rather than overwhelm the image and should feel consistent with the character’s powers or aesthetic. When adding effects, study the source material to understand how these powers appear in the anime, game, or comic. Always maintain communication with the cosplayer during editing—share preview images and be open to feedback about colors, effects, or retouching. Some cosplayers prefer minimal editing, while others want dramatic, heavily stylized images. Establishing these expectations before or during the shoot prevents disappointment. Finally, deliver images in appropriate formats: high-resolution files for printing and portfolios, web-optimized versions for social media, and ensure you properly credit and tag the cosplayer when sharing images, as the cosplay community thrives on proper attribution and mutual respect.
Ready to capture amazing cosplay photography? Uncleshoot Photography in Bekasi specializes in cosplay and character photography for conventions, outdoor shoots, and creative collaborations. Whether you’re a cosplayer looking for professional photos or planning a cosplay event, we understand characters, fandoms, and the artistry of cosplay.
Leave a Reply
You must be logged in to post a comment.