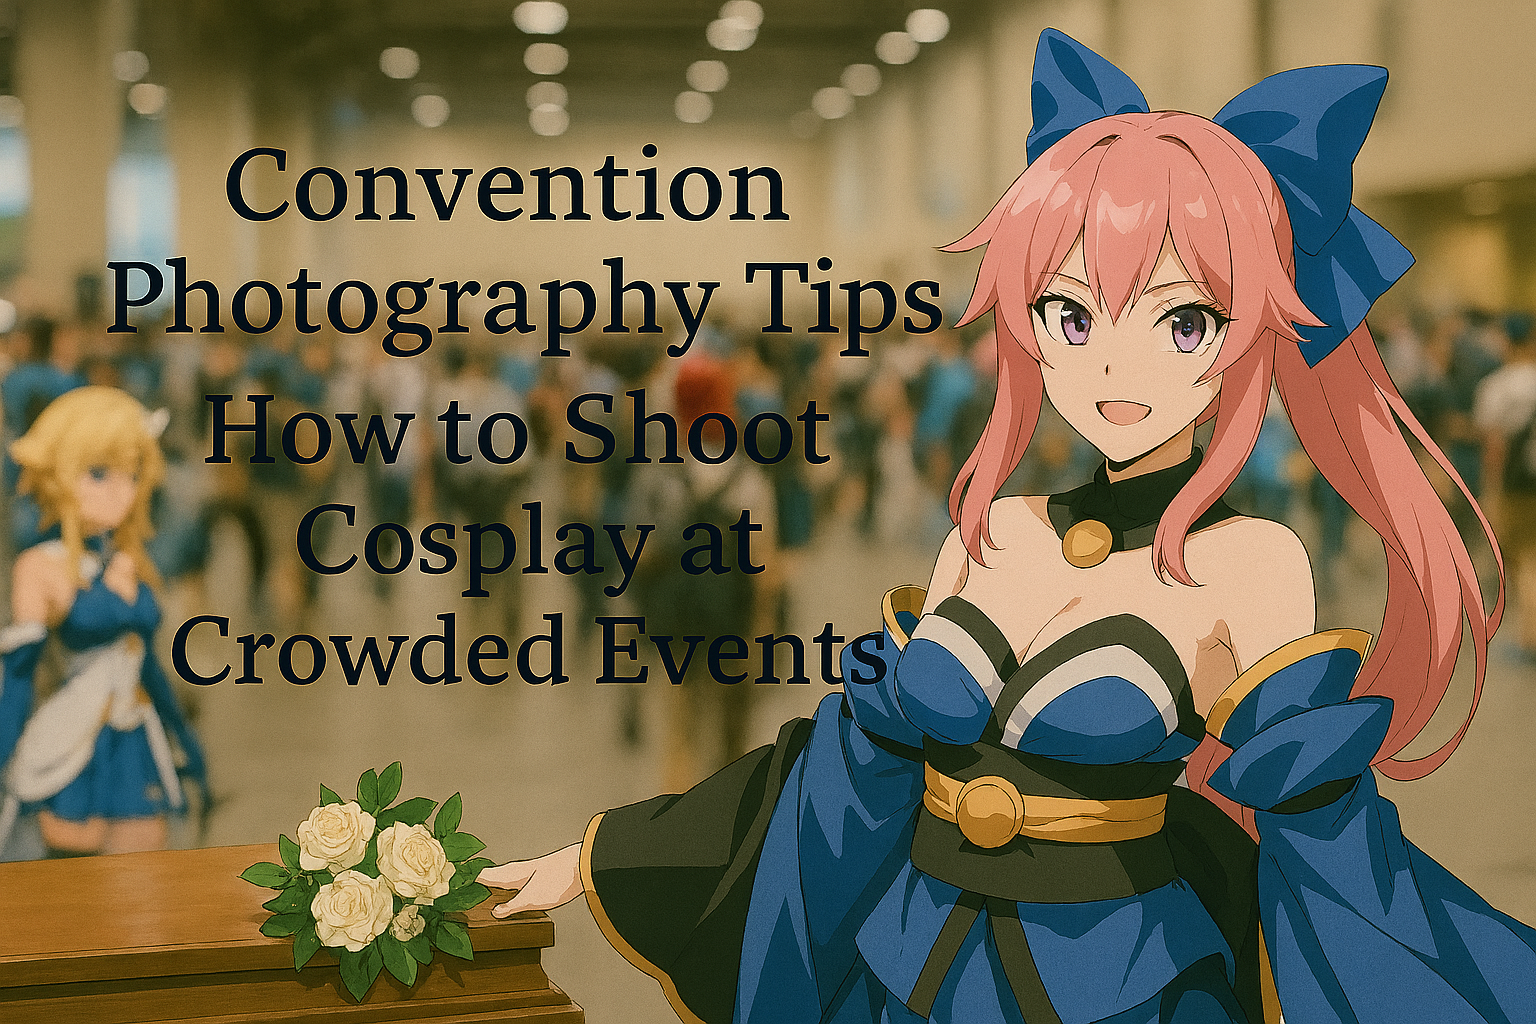
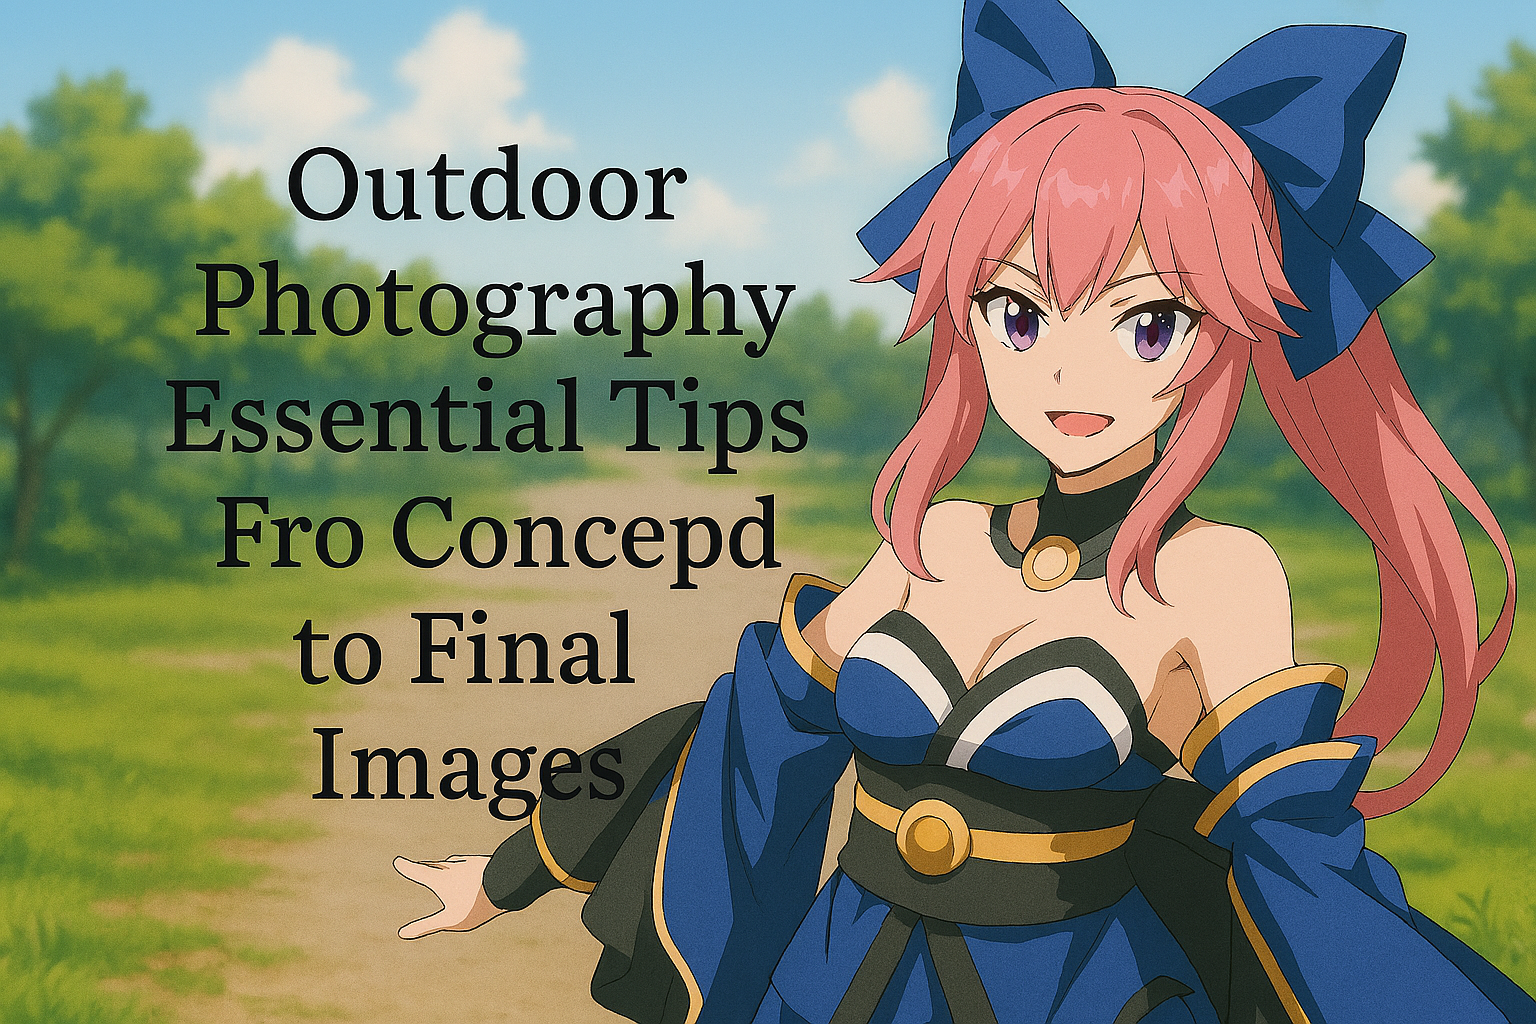
Cosplay conventions are vibrant, energetic events where creativity explodes in every direction, bringing together thousands of passionate fans, skilled cosplayers, and talented photographers. For photographers, conventions offer incredible opportunities to capture diverse characters, witness amazing craftsmanship, and build connections within the cosplay community—all in a single day. However, convention photography also presents unique challenges that can frustrate even experienced photographers: crowded spaces with distracting backgrounds, terrible mixed lighting, limited time with cosplayers, navigating etiquette in fast-paced environments, and managing equipment in cramped conditions. Successfully shooting cosplay at conventions requires a different approach than controlled studio sessions or planned outdoor shoots. You need to be quick, adaptable, respectful, and technically proficient enough to work around the environmental limitations while still producing images that cosplayers will love and share. Whether you’re attending your first convention with a camera or you’re a seasoned event photographer looking to improve your convention cosplay work, understanding the specific strategies and techniques for this environment will dramatically improve your results. This comprehensive guide will walk you through everything you need to know about convention photography, from essential gear and camera settings to finding good shooting spots, working efficiently with cosplayers, and navigating the unwritten rules of convention photography etiquette.
Essential Gear: Pack Light, Pack Smart
Convention photography requires a careful balance between having the equipment you need and avoiding the burden of carrying too much gear through crowded halls for hours. Unlike studio or outdoor location shoots where you can bring everything, convention work demands mobility and efficiency. Your camera body should be something you’re comfortable with and that performs well in low light, as convention halls are notoriously poorly lit. A crop-sensor or full-frame DSLR or mirrorless camera with good high-ISO performance is ideal. For lenses, resist the temptation to bring your entire collection—you’ll be walking for hours and constantly moving through crowds. A versatile zoom lens like a 24-70mm f/2.8 covers most convention photography needs, allowing you to capture full-body shots in tight spaces and zoom in for portraits without changing lenses. If you prefer prime lenses, a 50mm f/1.8 is compact, affordable, fast, and perfect for convention work, though you’ll need to “zoom with your feet” more often. Some photographers bring a 35mm for wider environmental shots and an 85mm for beautiful portrait compression, but switching lenses in crowded, dusty convention environments increases the risk of sensor dust and missed shots. A speedlight or small portable flash is highly recommended for convention photography, as it allows you to overpower the terrible fluorescent lighting and create properly exposed, well-lit images even in dim hallways. Learn to use your flash off-camera with a simple bracket or cord, or bounce it off ceilings and walls for softer, more flattering light than direct on-camera flash provides. If you’re serious about convention photography, consider a compact light stand and small softbox or umbrella for creating a mini shooting area in designated photo spots—though be mindful this requires more space and setup time. A small circular reflector (collapsible 5-in-1 reflectors are perfect) can bounce natural light from windows or fill shadows when flash isn’t appropriate. Bring extra batteries—at least two or three fully charged spares—as you’ll be shooting far more than you expect, reviewing images frequently, and potentially using flash extensively, all of which drains batteries quickly. Pack multiple high-capacity, fast memory cards; conventions generate hundreds or even thousands of shots in a day. A comfortable camera strap or harness system is essential for carrying your gear all day without neck or shoulder pain. Keep a lens cleaning cloth and air blower easily accessible for dealing with fingerprints, dust, and the general grime of convention environments. Finally, bring business cards or information cards with your social media handles and website so cosplayers can easily find and tag you when you share their photos—this is crucial for building your convention photography presence and getting tagged in cosplayer shares.
Understanding and Working With Convention Lighting
Convention center lighting is almost universally terrible for photography, presenting one of the biggest technical challenges of shooting cosplay at events. Most venues use overhead fluorescent or sodium vapor lights that create unflattering color casts (often green or yellow), harsh shadows under eyes and noses, uneven illumination, and insufficient light levels for sharp handheld photography. Additionally, conventions often have mixed lighting—fluorescent overheads, natural light from windows, colored LED accent lighting from vendor booths, and video screens creating blue light pollution—all with different color temperatures that confuse your camera’s auto white balance. Understanding these challenges and having strategies to overcome them is essential. First, embrace higher ISO settings than you might use outdoors. Convention photography often requires ISO 800, 1600, or even 3200 to achieve fast enough shutter speeds for sharp images. Modern cameras handle noise remarkably well at these ISOs, and a slightly grainy sharp image is infinitely better than a perfectly noise-free blurry one. Shoot in RAW format always, as this gives you maximum flexibility to correct color casts and adjust exposure in post-processing. For white balance, either use auto white balance and plan to correct in post, or set a custom white balance using a gray card in the specific area where you’re shooting—though this becomes impractical as you move through different areas with different lighting. The most effective solution for convention lighting challenges is bringing your own light in the form of a speedlight or portable LED panel. By using flash, you become less dependent on ambient light and can create consistent, well-exposed images throughout the day. Learn to balance flash with ambient light rather than overpowering everything—use TTL (through-the-lens) metering initially, then switch to manual flash control as you get comfortable. Bounce flash off white or neutral ceilings when possible to create softer, more flattering illumination than direct flash. If ceilings are too high, dark-colored, or non-existent, use a small bounce card or diffuser on your flash to soften the light. When shooting near windows or in areas with natural light, position cosplayers so window light acts as a main light source, using your flash as fill to lighten shadows. Scout the convention venue early for areas with better natural lighting—large windows, atriums, outdoor spaces, or areas where natural and artificial light balance more pleasantly. These spots become your go-to locations for quick shoots throughout the day.
Finding Good Shooting Locations Within the Venue
One of the biggest challenges of convention photography is finding clean, uncluttered backgrounds and good shooting locations within crowded, visually chaotic venues. Upon arriving at the convention, spend the first 30 minutes walking the entire space to scout potential photo spots before the crowds build. Look for plain walls (white, black, or neutral colors work best), corners with minimal visual clutter, areas with good natural light from windows, outdoor spaces like patios or entry plazas, architectural features like columns or interesting walls that add visual interest without overwhelming the costume, and official designated photo areas that conventions sometimes provide (though these are often crowded). Note the lighting quality in each area and how backgrounds will appear—what looks acceptable to your eye might be distractingly busy when compressed in a photograph. Many photographers stake out a semi-permanent spot with good background and lighting, returning to the same location throughout the day rather than shooting randomly wherever they encounter cosplayers. This approach allows you to dial in your camera settings and lighting for that specific spot, work more efficiently, and become known as “that photographer by the west entrance” where cosplayers can find you. Designated photo areas or “photoshoot corners” at conventions offer the advantage of space and understanding from other attendees that photography is happening, but the disadvantage of long lines, time pressure, and multiple photographers shooting the same backgrounds. If using these areas, be courteous about time—shoot efficiently and don’t monopolize popular spots. For more unique images, look for themed areas within the convention that match specific characters: gaming booths for video game characters, outdoor areas for nature-based characters, industrial or tech areas for sci-fi or cyberpunk cosplay. Some conventions feature elaborate set pieces or photo opportunities specifically designed for attendees—these can provide excellent backgrounds if they match the character’s aesthetic. When backgrounds are inevitably busy or distracting, use several techniques to minimize their impact: shoot with wider apertures (f/2.8 or larger) to create shallow depth of field that blurs backgrounds, use longer focal lengths which compress and blur backgrounds more than wide angles, position cosplayers farther from background elements to increase blur, or use flash exposure to properly expose the subject while slightly underexposing the background, making it darker and less distracting. Pay attention to what’s directly behind your subject’s head—even blurred, bright objects, exit signs, or other people’s heads create distracting elements. Small adjustments in position, even just a few steps left or right, can dramatically improve your background.
Convention Photography Etiquette and Working Efficiently
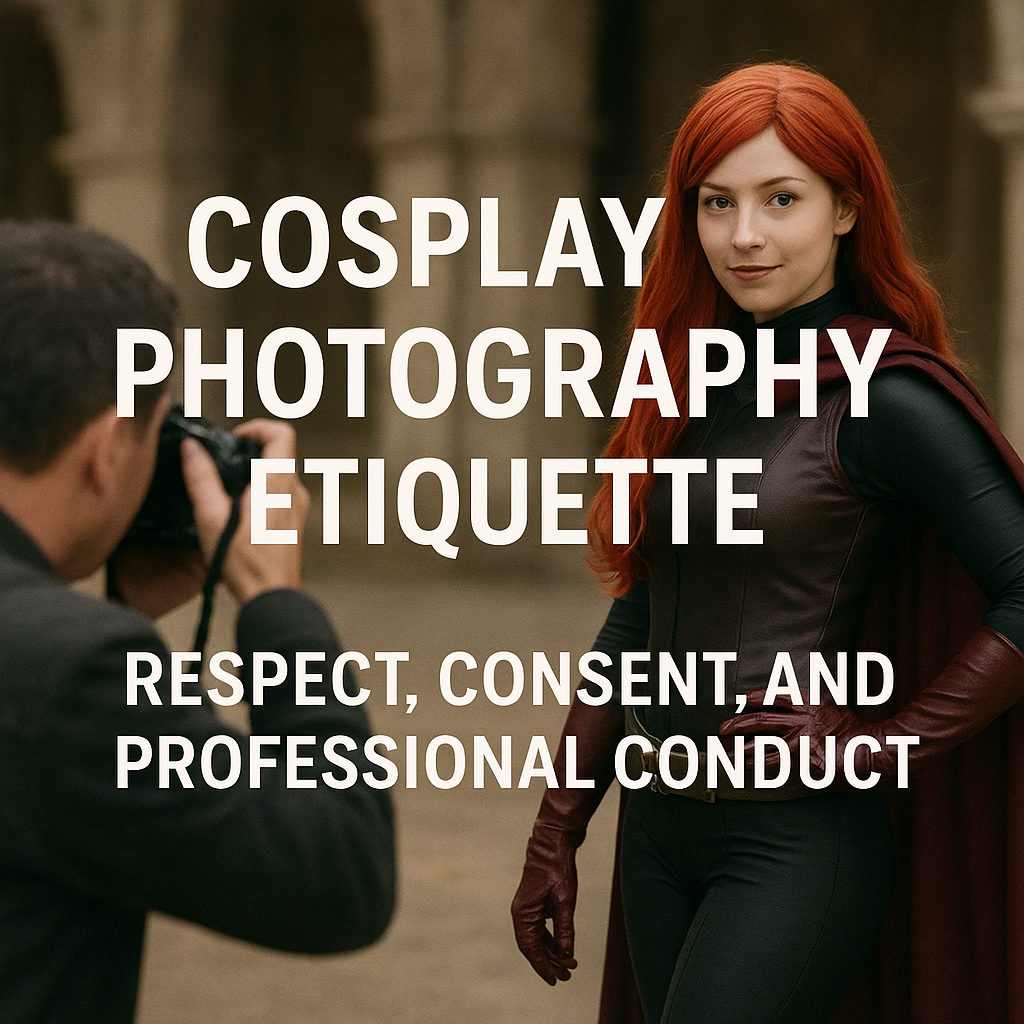
Convention photography operates within a culture of unwritten rules and community expectations that you must understand and respect to be welcomed in the cosplay community. The golden rule is simple: always ask permission before photographing anyone. Never assume a cosplayer wants their photo taken, and never shoot candid shots without consent—”cosplay is not consent” applies to photography as well as physical interaction. Approach cosplayers politely and clearly: “Excuse me, I love your costume! May I take your photo?” Most cosplayers are thrilled to be asked and will happily pose, but some may decline if they’re eating, taking a break, rushing to a panel, or simply not in the mood—accept “no” gracefully and move on. When a cosplayer agrees to photos, ask if they have specific poses they’d like to do, as many have practiced signature character poses. Take multiple shots from different angles, show them a preview on your LCD if they’re interested, and thank them genuinely. The entire interaction should take 1-3 minutes maximum—cosplayers are there to enjoy the convention too, not spend all day posing for photographers. If you want more extensive shooting time, politely ask if they’d be interested in a longer session and exchange contact information to arrange a proper shoot later. Always ask before touching a cosplayer or their costume to adjust anything—what might seem like a helpful gesture to fix a strap or position a prop is actually inappropriate physical contact without permission. If you notice something needs adjustment, point it out and let them fix it themselves. Respect props and costumes, which often represent hundreds of hours of work and significant expense—never grab, touch, or reposition props without explicit permission. When shooting groups, be aware that you’re taking time from multiple people, so work especially efficiently. After taking photos, provide your social media handles or business card so cosplayers can find the images when you post them. This brings us to sharing etiquette: always credit and tag cosplayers when you post convention photos online. The cosplay community values proper attribution, and posting amazing cosplay photos without crediting the cosplayer is considered extremely disrespectful. Ask cosplayers for their social media handles during the shoot, and tag them when you post. If a cosplayer asks you not to post their photos, respect that request absolutely. For hallway or quick convention shots, it’s generally understood that photographers aren’t paid and images are shared for mutual promotion—both photographer and cosplayer benefit from social media exposure. However, if you intend to use images commercially (selling prints, portfolios for paid work, advertising), this requires explicit permission and possibly compensation. Be mindful of your physical space in crowded conventions—don’t block walkways, entrances, or vendor booths for your photoshoots. Be aware of other photographers waiting, and don’t monopolize popular cosplayers. If multiple photographers are waiting to shoot the same cosplayer, they’ll often coordinate to shoot simultaneously from different angles, which is acceptable if the cosplayer agrees.
Camera Settings, Shot Lists, and Maximizing Your Convention Day
Technical proficiency and strategic planning allow you to maximize the quality and quantity of images you capture during a convention day. Start with camera settings appropriate for convention environments: shoot in aperture priority or manual mode for creative control, use apertures between f/2.8 and f/5.6 depending on whether you want background blur or sharpness, set shutter speed to at least 1/200s to freeze movement and eliminate motion blur (increase to 1/320s or faster if cosplayers are doing action poses), and adjust ISO as needed to achieve proper exposure—don’t be afraid of ISO 1600 or higher. Enable continuous autofocus (AI Servo for Canon, AF-C for Nikon/Sony) for tracking moving subjects in crowded environments, and use single-point or zone AF rather than full-frame AF to maintain focus on your intended subject amidst crowd distractions. If using flash, start with TTL metering and adjust flash exposure compensation (+/- depending on results), or switch to manual flash once you’re comfortable with the power level needed for your shooting distance and aperture. Take test shots in different convention areas and review them critically—check exposure using the histogram (not just the LCD preview which is unreliable in varied lighting), verify focus by zooming in on facial features, and adjust settings as needed. For each cosplayer, shoot a variety of images to increase the chances of getting shots they’ll love: full-body shots showing the complete costume, three-quarter length shots from waist up, close-up portraits highlighting makeup and expression, detail shots of props or intricate costume elements, and both vertical and horizontal orientations. Shoot more than you think you need—digital storage is cheap, and having options is valuable. A typical convention shoot with one cosplayer might yield 10-20 images in 2-3 minutes. Create a mental or written shot list of characters or series you’re particularly hoping to photograph—this helps you prioritize when you encounter multiple interesting cosplayers simultaneously. However, remain flexible and open to photographing characters you’re unfamiliar with, as some of your best images might come from unexpected encounters. Take breaks throughout the day to review your images, delete obvious failures to free up card space, backup important shots if possible, and rest your eyes and body. Convention photography is physically demanding—you’ll walk miles through crowded spaces while carrying equipment and constantly scanning for photo opportunities. Stay hydrated, eat properly, and pace yourself to maintain energy and creativity throughout the entire event. Finally, engage authentically with the community beyond just taking photos—compliment craftsmanship, ask about costume construction, show genuine interest in the characters and series represented. Building relationships and reputation in the cosplay community leads to better collaborative opportunities, invitations to private shoots, and becoming known as a photographer who respects and celebrates cosplay culture rather than just exploiting it for content.
Attending conventions in Bekasi, Jakarta, or surrounding areas? Uncleshoot Photography specializes in convention and cosplay event photography, capturing amazing character shots in challenging convention environments. We understand cosplay culture, respect community etiquette, and deliver high-quality images that cosplayers love to share.
Leave a Reply
You must be logged in to post a comment.