Outdoor cosplay photoshoots represent the pinnacle of cosplay photography, offering creative freedom, natural environments, and the time to create truly epic images that convention hallway shoots simply cannot match. Unlike quick convention encounters where you have mere minutes with a cosplayer, planned outdoor shoots allow for elaborate concepts, multiple locations, character-appropriate settings, and the collaboration needed to bring characters to life in stunning detail. However, this creative potential comes with significant planning requirements—successful outdoor cosplay shoots don’t happen by accident. They require pre-shoot consultation, location scouting, understanding the character and source material, preparing for weather and technical challenges, coordinating schedules, and managing the entire workflow from concept development through final image delivery. Whether you’re a photographer planning your first outdoor cosplay shoot or a cosplayer wanting to understand what goes into creating those amazing images you see online, understanding the complete process ensures successful collaboration and results that exceed expectations. A well-planned outdoor cosplay shoot becomes more than just a photo session—it becomes a creative adventure where photographer and cosplayer work together to create art that honors the character, showcases the costume’s craftsmanship, and tells a visual story. In this comprehensive guide, we’ll walk through every stage of planning and executing an outdoor cosplay photoshoot, from initial concept through final edited images, ensuring you have the knowledge and tools to create truly memorable cosplay photography.
Pre-Shoot Consultation and Concept Development
Every successful outdoor cosplay shoot begins with thorough communication and collaborative concept development between photographer and cosplayer. This initial consultation phase, ideally conducted weeks before the actual shoot, sets the foundation for everything that follows. Start by discussing the character in depth—which series, game, or media they’re from, the character’s personality and typical environments, specific scenes or moments from the source material that inspire the cosplayer, and what mood or aesthetic they envision for the photos. Ask to see reference images, both from the source material and from other cosplay photographers whose style the cosplayer admires. This helps you understand their expectations and ensures you’re aligned on the visual direction. Discuss the costume itself: what materials it’s made from, any special features or mechanisms, how fragile certain elements might be, whether props are involved and how they function, and any limitations the costume imposes on movement or posing. A cosplayer in heavy armor moves differently than one in flowing fabric, and understanding these physical constraints prevents frustration during the shoot. Talk about the cosplayer’s comfort level and experience—are they comfortable with dramatic poses, do they have signature character expressions practiced, have they done outdoor shoots before, and are there any physical limitations or concerns you should know about? Discuss practical logistics: preferred shoot date with backup options for weather, time of day that works for schedules (keeping in mind lighting considerations), transportation arrangements to the location, duration of the shoot (typically 1-4 hours for outdoor cosplay work), and whether this will be a solo character shoot or involve multiple cosplayers for group dynamics. Address the business aspects clearly: discuss your rates or arrangement (some photographers shoot TFP—Time For Prints—where both parties exchange services for portfolio images, while others charge session fees), clarify usage rights and how images will be shared and credited, establish expectations for number of final edited images and delivery timeline, and create a simple agreement or contract covering these points to prevent misunderstandings. Finally, collaborate on the creative concept—will this be a dramatic action shoot, a serene character study, a narrative series telling a story, or a showcase of the costume’s details and craftsmanship? The concept influences location choices, lighting approach, posing style, and post-processing aesthetic. Some shoots aim for images that look like they’re pulled directly from the anime or game, while others take a more artistic, interpretive approach. Establishing this vision together ensures you’re working toward the same goal and creates excitement and investment from both parties.
Location Scouting for Character-Appropriate Settings
Location selection can make or break an outdoor cosplay shoot, as the environment either enhances the character’s world or creates jarring visual disconnection. The goal is finding real-world locations that feel authentic to the character’s fictional universe, or at minimum, provide neutral beautiful backgrounds that don’t conflict with the character’s aesthetic. Begin your location search by considering the character’s typical environment in their source material. Fantasy characters like elves, druids, or woodland creatures naturally suit forests, gardens, or parks with lush greenery and natural elements. Warriors or medieval characters work beautifully in areas with stone architecture, castle-like structures, or rustic settings. Sci-fi, cyberpunk, or modern urban characters need city environments with contemporary architecture, industrial areas, or futuristic-looking buildings. Beach or water-based characters obviously benefit from coastal locations, while post-apocalyptic characters suit abandoned buildings, industrial wastelands, or barren landscapes (always with proper permissions and safety considerations). Once you’ve identified the general environment type needed, scout specific locations in your area. Visit potential sites at the same time of day you plan to shoot to evaluate lighting conditions, check accessibility for cosplayers in elaborate costumes (can they navigate rough terrain in armor or long dresses?), assess crowd levels and privacy (popular parks may have too many onlookers or require permits for photography), look for varied shooting spots within the location to provide visual variety, and verify that photography is permitted and whether you need special permits or permissions. Take reference photos during your scouting visit showing different angles, backgrounds, and lighting at various times. Share these with your cosplayer to confirm the location matches their vision. Consider practical factors beyond aesthetics: parking availability and distance from shooting location, restroom facilities for costume adjustments, shaded areas for breaks and equipment protection, safety concerns like steep drops, water hazards, or unstable structures, and backup indoor or covered areas in case of weather changes. For urban locations, be aware of private property boundaries and always secure permission when shooting on private land. Some excellent urban locations include university campuses with interesting architecture, historical districts with period buildings, modern downtown areas with glass and steel structures, bridges and overpasses for dramatic perspectives, parking structures for gritty urban aesthetics, and public art installations or murals that complement certain characters. Natural locations might include botanical gardens (often requiring permits but offering stunning variety), nature preserves with forests and meadows, beaches or lakeshores, mountain or hill areas with dramatic vistas, and parks with diverse landscapes. Always have a backup location in mind in case your primary choice is unexpectedly unavailable, crowded, or affected by weather or construction.
Planning for Weather, Timing, and Technical Preparation
Outdoor photography is inherently dependent on weather and natural light, making careful planning essential for successful cosplay shoots. Start by choosing your shoot date strategically—check historical weather patterns for your location and avoid seasons with high probability of rain if the costume isn’t water-resistant. However, maintain flexibility with backup dates, as weather can be unpredictable. Monitor detailed weather forecasts in the week leading up to your shoot, looking beyond just “sunny or rainy” to understand temperature, humidity, wind speed, and cloud cover, all of which affect both the shoot conditions and the cosplayer’s comfort. Timing during the day dramatically impacts your lighting and the mood of your images. Golden hour—the hour after sunrise and the hour before sunset—provides the most beautiful, warm, flattering light for most cosplay photography, creating a magical quality that’s especially appropriate for fantasy, romantic, or heroic characters. Morning golden hour (6-8 AM depending on season) offers the advantage of fewer crowds at public locations but requires very early start times. Evening golden hour (one hour before sunset) is more convenient for scheduling but may attract more people to popular locations. Midday shooting (11 AM – 3 PM) provides harsh overhead light that creates unflattering shadows and requires more technical skill to manage, but works for certain character types—dark, brooding characters or villains can benefit from dramatic harsh light, and you can use shade or supplemental lighting to overcome harsh sun. Overcast days provide beautifully soft, even lighting that’s incredibly flattering and forgiving, perfect for characters with lighter color palettes or when you want to emphasize costume details without dramatic shadows. Blue hour—the period just after sunset or before sunrise when the sky turns deep blue—creates moody, atmospheric conditions perfect for mysterious, magical, or nocturnal characters, though it requires higher ISO and possibly artificial lighting. Communicate timing clearly with your cosplayer, including travel time, setup time for getting into costume if they’re changing on-location, and the actual shooting duration. Prepare your equipment thoroughly before the shoot: charge all batteries fully and bring spares, format memory cards and bring extras, clean lenses and sensors, pack your planned gear list plus backups (backup camera body if you have one, multiple lenses, lighting equipment, reflectors), and organize everything in an accessible camera bag. Bring supplies beyond camera gear: water and snacks for both you and the cosplayer, sunscreen and bug spray for outdoor comfort, small first-aid kit for minor mishaps, clips, safety pins, or tape for costume emergencies, towels or blankets for sitting areas or protecting costumes, and portable phone charger to stay connected. Create a shooting plan or shot list outlining the specific images you want to capture, organized by location within your chosen site to maximize efficiency and minimize backtracking in costume.
Working With Cosplayers and Groups During the Shoot
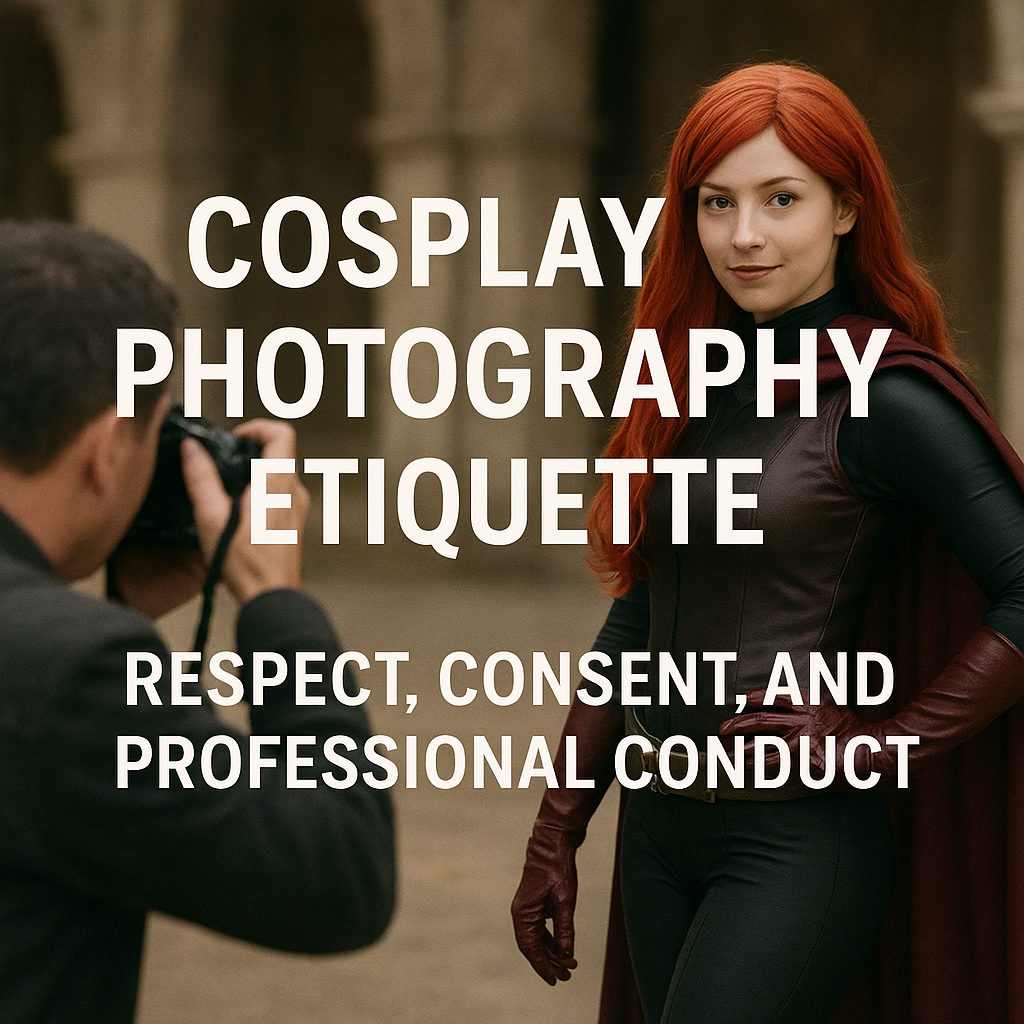
The actual photoshoot is where planning meets execution, and your ability to direct, collaborate, and create a positive experience determines both the quality of images and whether the cosplayer will want to work with you again. Begin by arriving early to set up, do final location checks, and be ready when the cosplayer arrives—respecting their time builds trust and professionalism. When the cosplayer arrives in costume, take a moment to appreciate their work and compliment specific details you notice, showing genuine interest in their craftsmanship. Start with easier, less physically demanding shots while everyone is fresh and energetic, saving the most challenging poses, locations, or athletic shots for when you’ve established workflow and comfort. Communication is key throughout the shoot: explain what you’re trying to achieve with each shot, provide clear posing direction using both verbal instructions and physical demonstration (without touching—show them the pose by doing it yourself), give positive feedback frequently (“that looks amazing,” “perfect expression,” “hold that pose”), and show them preview images regularly so they can see the results and adjust accordingly. Many cosplayers are not professional models, so your direction and encouragement help them feel confident and produce better expressions and poses. For group cosplay shoots with multiple characters, coordination becomes more complex but creates opportunities for dynamic interaction shots. Work with the group to plan shots that make narrative sense—heroes grouped together, villain facing off against heroes, characters in relationships positioned appropriately, and formations that showcase each costume while creating visual balance. Manage the group’s energy and time efficiently, as coordinating multiple people in elaborate costumes requires patience and organization. Shoot both group compositions and individual portraits of each character within the same session. Pay attention to costume and prop management throughout the shoot—armor pieces may come loose, wigs may shift, makeup may need touching up, and props may need repositioning between shots. Build in regular breaks, especially during long shoots or in hot weather, allowing cosplayers to rest, hydrate, adjust costumes, and recharge energy. Use break time to review images, adjust your approach if needed, and plan the next set of shots. Be adaptable when things don’t go as planned—a location may be unexpectedly crowded, weather may change, or a costume element may malfunction. Your ability to problem-solve and maintain positive energy keeps the shoot productive and enjoyable. Encourage cosplayers to try their own pose ideas and character interpretations rather than rigidly controlling everything, as they often know their character better than anyone and will produce their most authentic expressions when given creative freedom within your directorial framework.
Post-Processing, Delivery, and Building Long-Term Collaborations
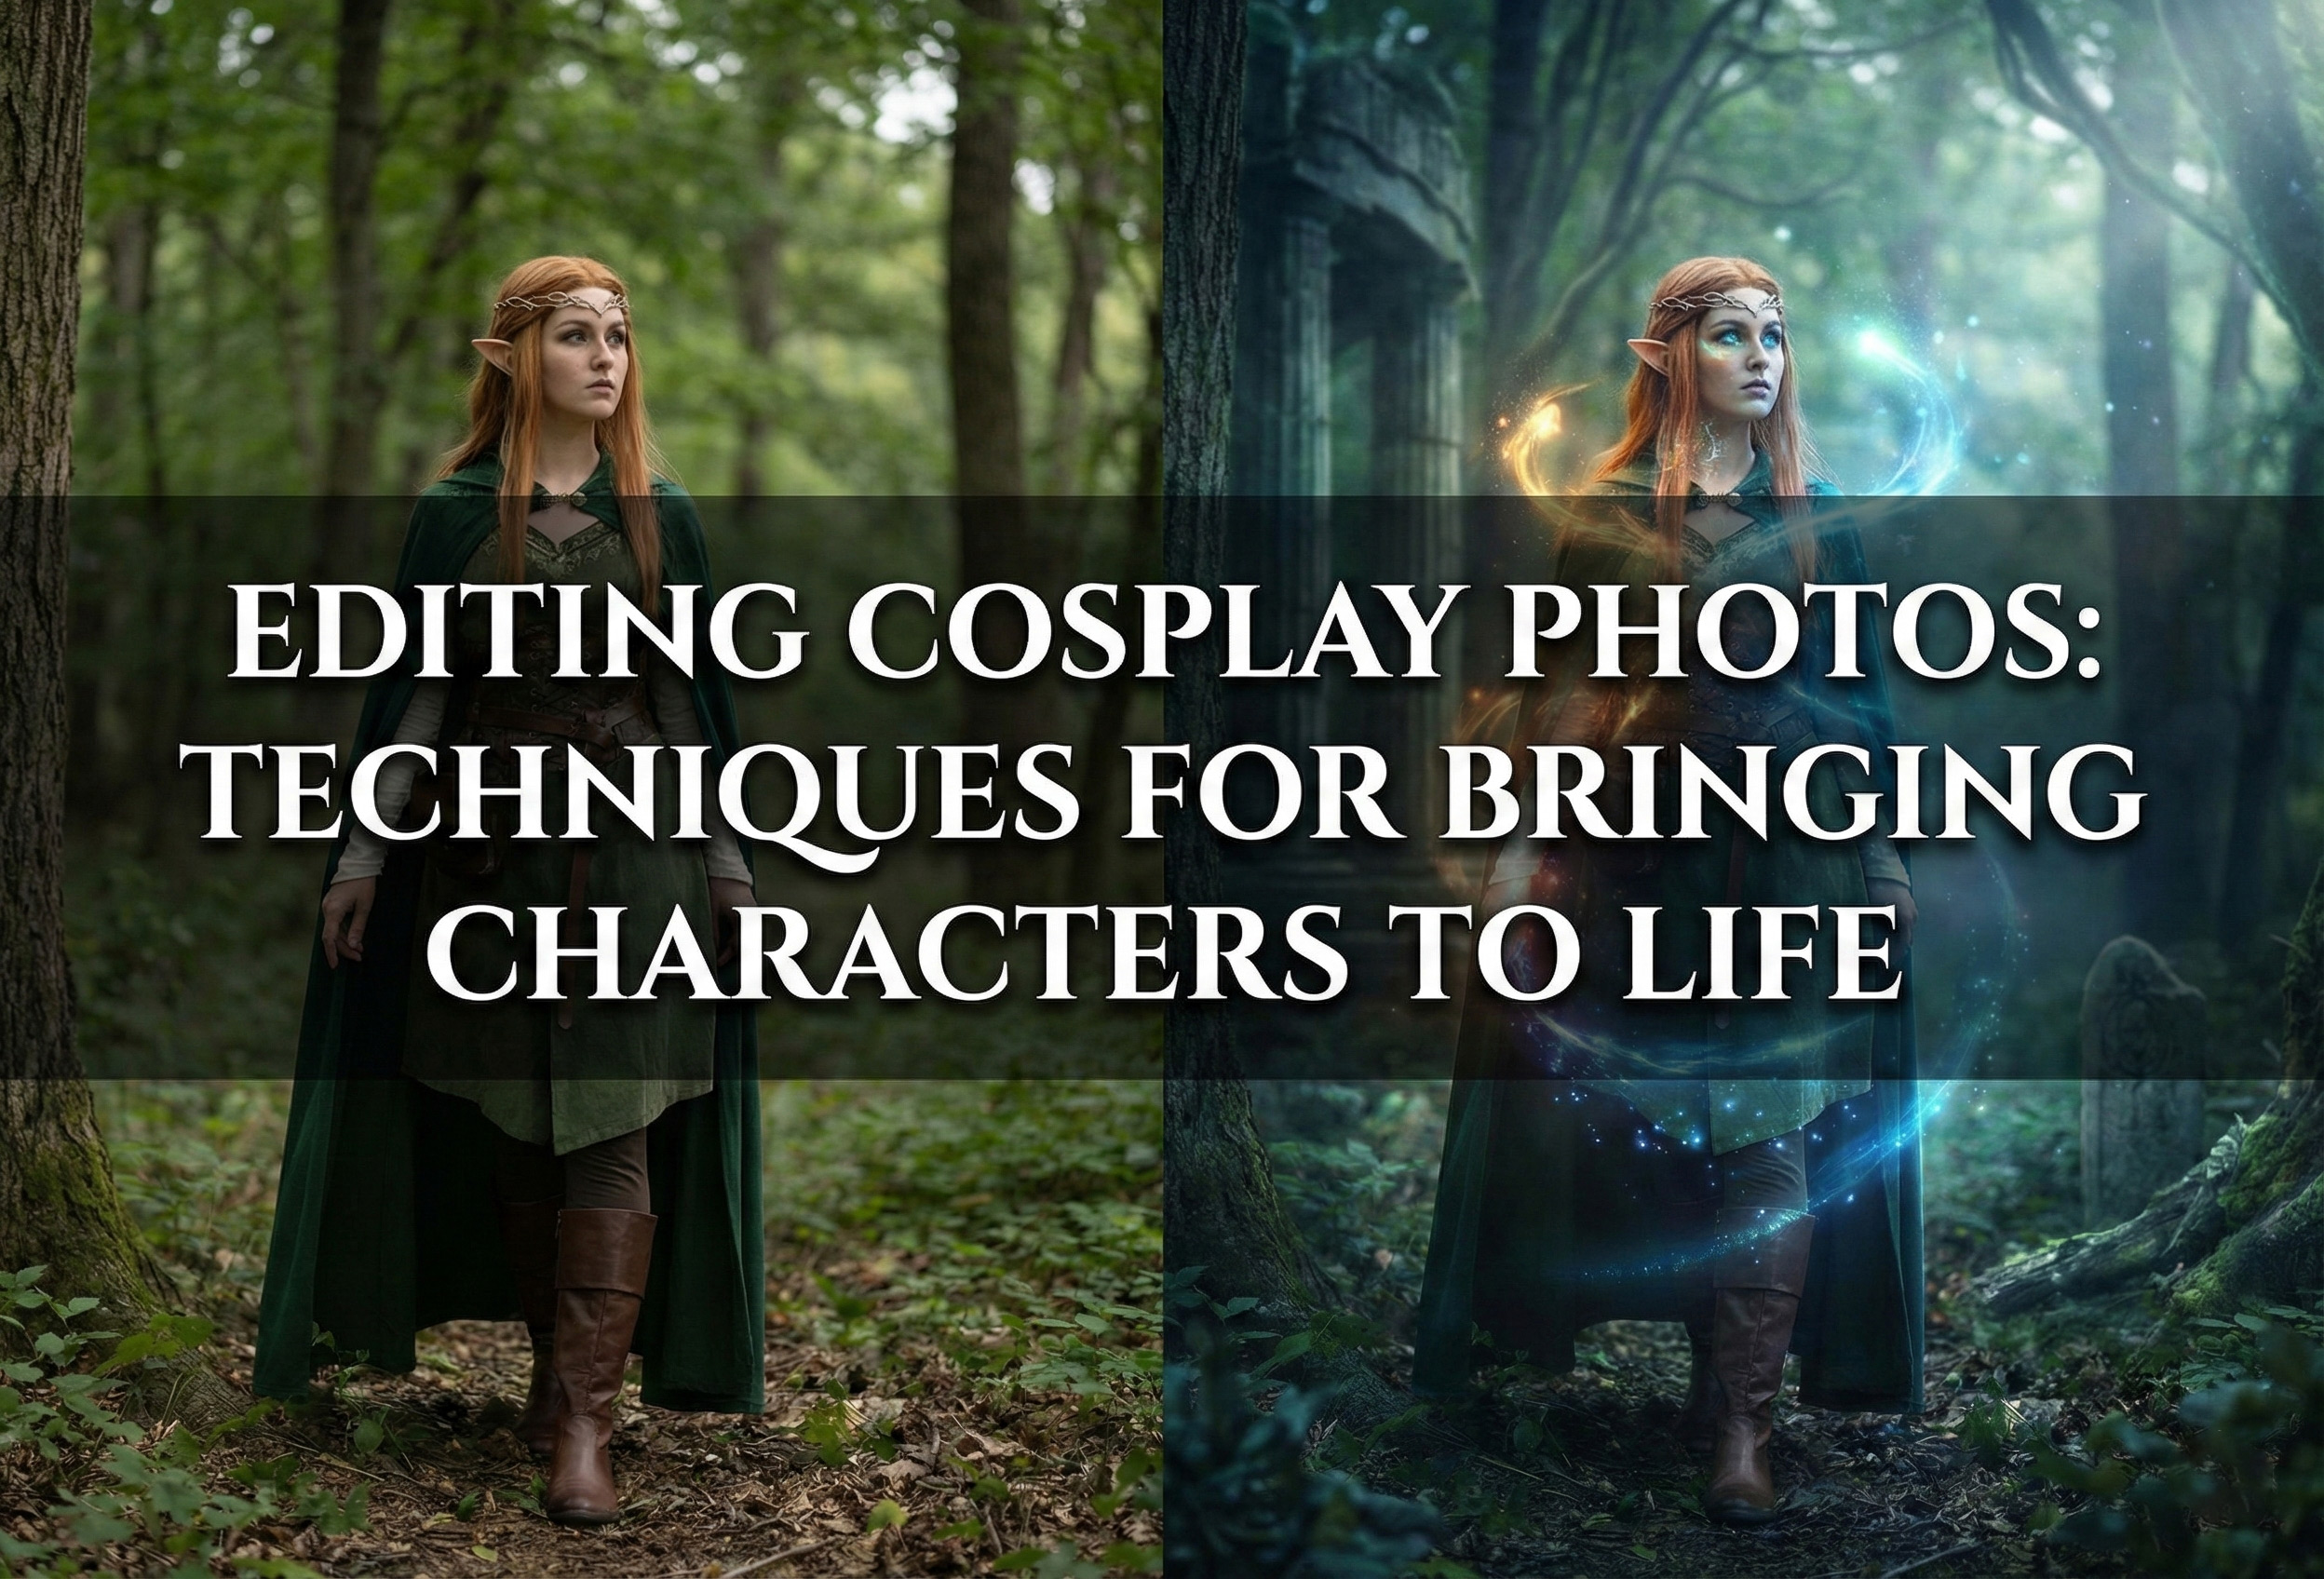
The photoshoot doesn’t end when you pack up your equipment—post-processing and professional delivery of final images are equally important parts of the outdoor cosplay photography workflow. Begin by backing up all your RAW files immediately to prevent devastating data loss, then cull through the images to select the best shots for editing. Outdoor cosplay shoots may generate 500-1000+ images, from which you’ll typically deliver 30-100 fully edited finals depending on your agreement. Selection criteria should prioritize sharp focus, flattering expressions, good pose execution, interesting composition, and images that best capture the character’s essence. Once you’ve selected images for editing, begin post-processing with attention to the character’s aesthetic and the mood you collaboratively planned. Color grading is particularly important—should the images have warm, heroic golden tones, cool dramatic blues, desaturated post-apocalyptic looks, or vibrant saturated anime-style colors? Adjust exposure, contrast, and color balance to create visual consistency across the series. Retouch thoughtfully: remove temporary blemishes or skin imperfections while preserving the cosplayer’s natural skin texture and any intentional character makeup, clean up costume elements like visible construction seams, safety pins, or loose threads that detract from the finished look, remove distracting background elements when possible (trash, modern signs in period settings, photobombers), enhance props and costume details through dodging and burning to add dimension, and consider more advanced techniques like sky replacement, environmental effects, or compositing if appropriate to the character and agreed upon with the cosplayer. Maintain regular communication during editing—send preview images or work-in-progress shots to ensure the cosplayer is happy with the direction, and be open to feedback and adjustment requests. When editing is complete, deliver images through a professional online gallery platform that allows easy viewing, downloading, and sharing. Include both high-resolution files suitable for printing and web-optimized versions for social media. Provide clear usage guidelines—typically, cosplayers have full rights to use their images for personal purposes and social media, while you retain copyright and the right to use images for your portfolio and marketing with proper cosplayer credit. Create a delivery timeline and stick to it—if you promised two weeks, deliver in two weeks or communicate if delays occur. When you share images on your social media and portfolio, always credit and tag the cosplayer, provide character and series information, and engage with comments to build community. Quality outdoor cosplay photography leads to repeat collaborations, referrals to other cosplayers, and building your reputation in the community. After delivering images, ask for feedback about their experience working with you, and if appropriate, discuss future shoot ideas or collaborations. Many photographer-cosplayer partnerships result in ongoing creative relationships where you work together on multiple characters and concepts over time, developing collaborative shorthand and creating increasingly ambitious projects. Treat every outdoor cosplay shoot as both a creative project and a relationship-building opportunity, delivering not just beautiful images but an experience that makes cosplayers excited to work with you again and recommend you to their community.
Ready to plan an epic outdoor cosplay photoshoot in Bekasi or surrounding areas? Uncleshoot Photography specializes in planned cosplay photography sessions, from concept development through final edited images. We understand character aesthetics, know great local shooting locations, and work collaboratively to bring your cosplay to life through stunning outdoor photography.
Leave a Reply
You must be logged in to post a comment.